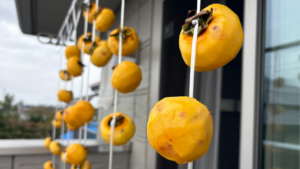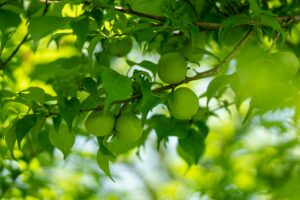
 About a month ago, I tried making hoshigaki (traditional dried persimmons) for the first time using astringent persimmons gifted by a friend.
Following up on my previous post, here is Part 2 to share how the batch safely reached completion.
Here is the link for the previous post:My First Time Making Hoshigaki with 47 Astringent Persimmons from Yamagata【Part I】
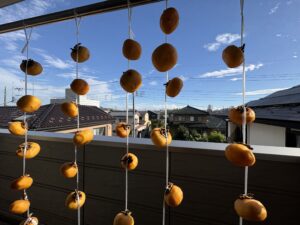
Once the persimmons were tied and hung on the balcony, I left them outside to dry, bringing them in only when it rained.
During one three-day stretch of continuous rain, I moved them inside to a laundry rack in our living room to continue the drying process. Due to the lingering moisture, a few showed early signs of suspected mold. After checking their condition, I prioritized safety and regrettably discarded about four of them.
Here is how they transformed day by day:
-
Day 1
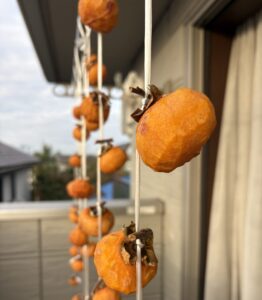
Although the initial day was overcast, the following day brought clear skies and a strong, steady breeze that blew all day. This quickly dried the surface moisture, giving the batch a promising start. I feel this second day of favorable weather was the real key to our success.

-
Day 8
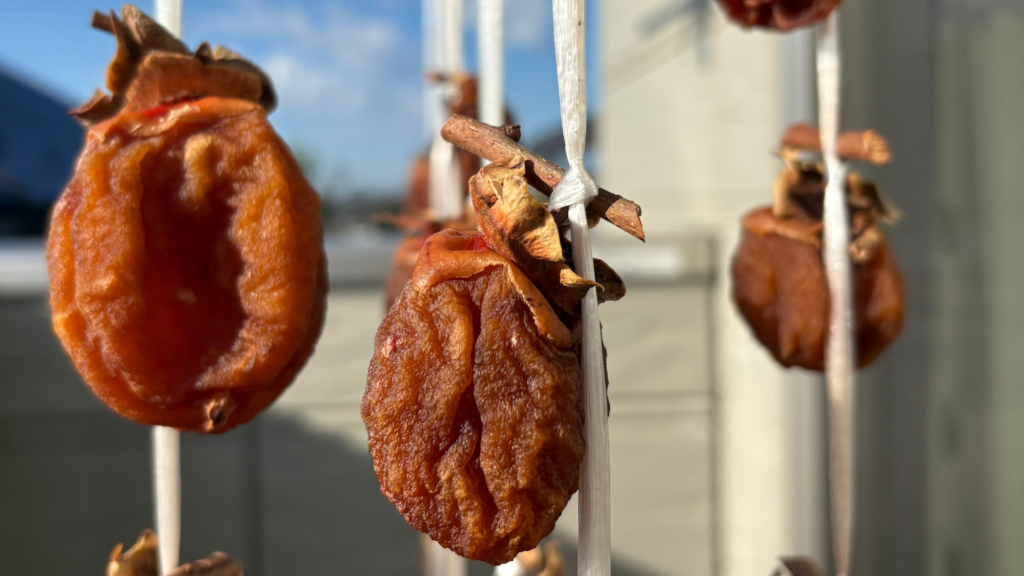
The color deepened into a rich orange, and the surface began to wrinkle. Because rain set in right after this, I temporarily moved them indoors. Persimmons are quite sensitive to humidity, which reminded me just how essential it is to adjust the drying location with the weather.
-
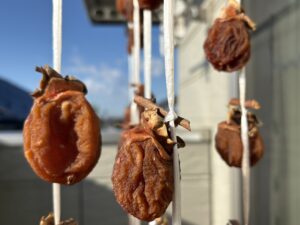
Day 12
To help release internal moisture evenly, I began gently massaging each persimmon daily. They were steadily taking on that familiar hoshigaki texture. Unable to wait any longer, I sampled one (haha). The center was still delightfully soft and custardy, yet astonishingly sweet.
-
Day 15
As the exterior developed a pleasant firmness, we decided they were officially ready for our household! The sweetness was even more concentrated than during my sneak taste three days earlier, resulting in a rich, deeply satisfying flavor.
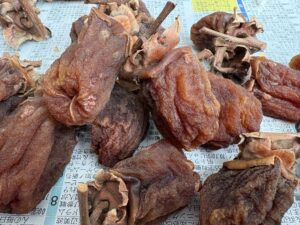
During preparation, my biggest concern was whether wild birds like crows might peck at them. While someone was around during the day, we couldn’t watch them constantly, and they stayed outdoors under the eaves at night. Fortunately, they remained untouched from start to finish.
Once finished, I trimmed off the stems and placed half in the refrigerator. The rest was shared with neighbors or stored in the freezer. In our home, adding dried persimmon to namas (vinegared radish and carrot salad) is a New Year’s tradition, so the frozen batch will be saved for the upcoming holidays.
Reflecting on my first attempt, my honest impression is: “This is surprisingly doable!“
While it takes time—and peeling dozens of persimmons and tying each string is certainly hard work—caring for them daily according to the weather felt like a rewarding exercise in slow living alongside nature.
Gradually coming together through traditional wisdom and natural elements, making hoshigaki will surely become an autumn staple in our home.
Why not try this seasonal craft yourself next autumn?
Note: This article shares a personal home-crafting experience. Because homemade dried persimmons are sensitive to weather and humidity, please prioritize safety and refrain from consuming any fruit if mold or spoilage is suspected.